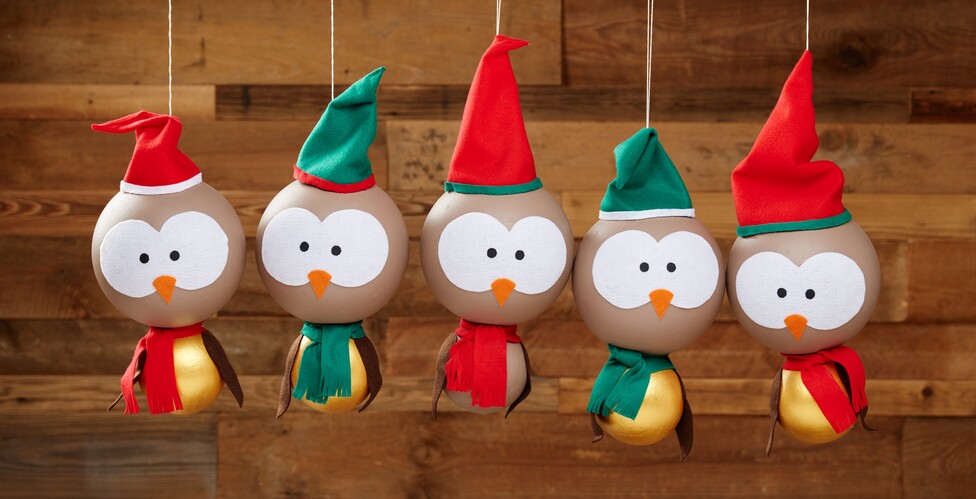
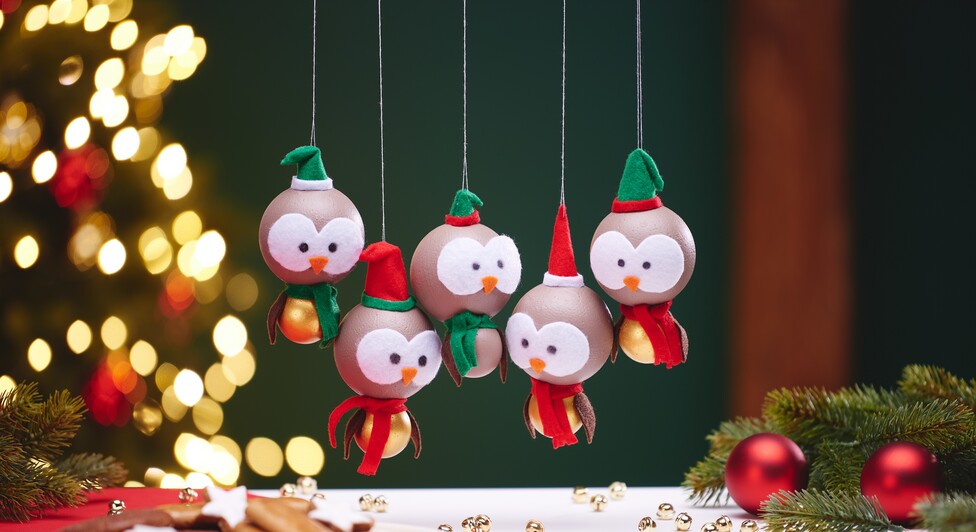
How to make the cute birds:
1. Start by gluing the 20 cm diameter polystyrene balls together with VBS handicraft glue. You can then paint the large and small polystyrene balls with grey-brown and gold craft paint. Important: It is best to apply 3 coats of paint so that the colour covers well. The individual layers of paint should always be completely dry before applying another one.
Tip: To keep your hands clean, you can stick a bamboo skewer into the polystyrene ball and then paint the balls.
2. Print out the templates and cut them out. Transfer them to the craft felt using a sublimat pen, for example. Cut out all the parts with sharp scissors.
3. once the polystyrene balls have dried, glue one large and one small ball together. If you are using handicraft glue, it will take some time for the balls to stick together. If you are using hot glue, be careful not to apply the glue too hot, otherwise it will burn into the polystyrene.
4. Now glue on the bird hats. Apply some hot glue to the straight edge and roll the felting into a bag.
Tip: Don't go all the way to the lace of the hat with the glue. This will prevent you from burning yourself with the hot glue and you will have clean glued edges.
Then cut a strip about 1 cm wide from the felting and glue it around the brim of the hat. Fold the lace over slightly and glue it on with a dot of hot glue. Pierce the felt hat with a needle and thread so that you can loop the birds later. Now fix the hat to the head with some hot glue.
5. Apply some glue to the eyes, beak and angel wings and stick them to the polystyrene balls. Then colour in the pupils with a black pen (e.g. acrylic marker).
6. Finally, cut an 8 cm wide piece from the short side of the craft felt and tie it around the birds' necks with a simple knot. Trim any ends that are too long and cut fringes into them. A great scarf is finished!
Your funny Christmas birds are ready and can be given a great place in your home.