Design creative wooden stick-on motifs with fairy lights: A step-by-step guide
Step 1: Painting the building kit
Start by painting the Wooden building kit according to your wishes. Use the colours you like best to give your motif an individual look. Make sure that the paint is applied evenly and dries well before moving on to the next step.
Step 2: Design window and door frames
Once the basic motif has dried, you can design the window and door frames with a coloured marker. Be careful with the marker to ensure that the lines are clean and accurate.
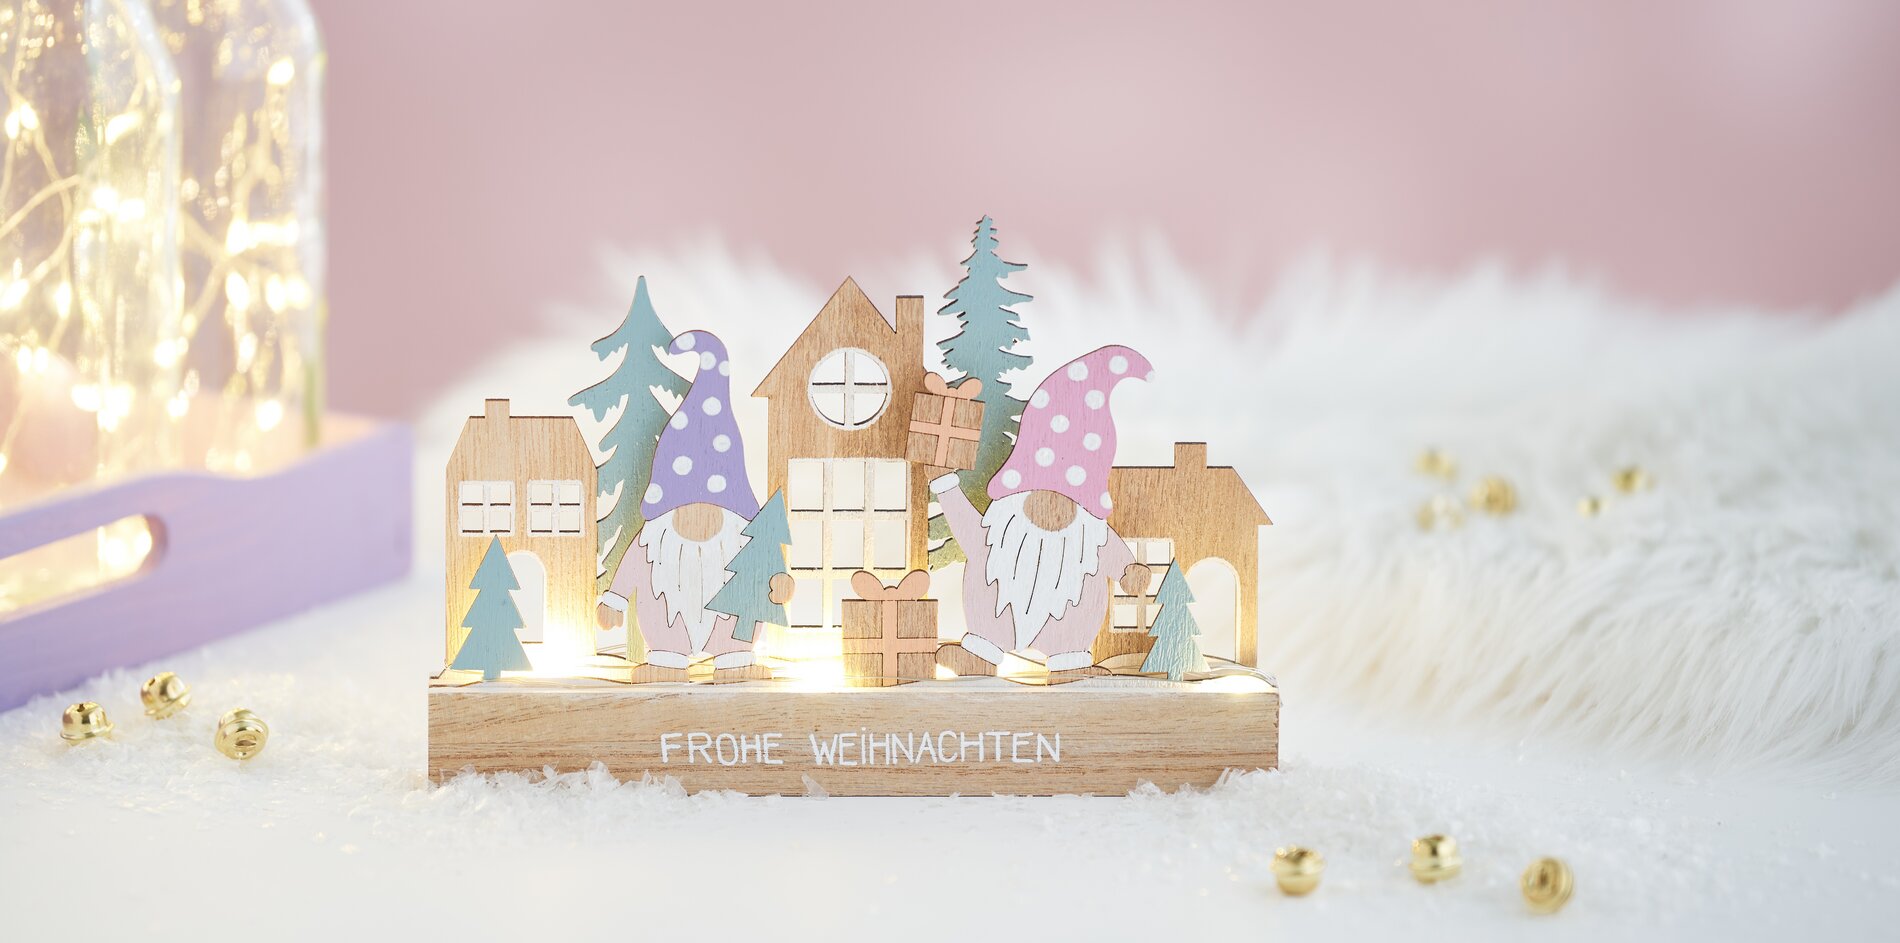
Step 3: Apply the message
Now comes the personal touch: write a message on the front pegboard of your wooden pegboard motif. Again, use the marker for this. Whether it's a welcome greeting, an inspiring quote or just a funny "hello" - your message will make the building kit even more special.
Step 4: Glue the motifs into the rails
Once you have attached your message, stick the painted motifs into the rails provided. Use handicraft glue to make sure everything sticks securely.
Step 5: Attach the chain of lights
Now comes the highlight: the chain of lights. Use hot glue to fix the battery compartment to the back of the plug-in rail. Make sure it is firmly attached as it has to support the weight of the batteries. Now carefully attach the chain of lights along the motifs and in the rails. Make sure that the lights are evenly distributed and well fixed.
Now you are ready to proudly present your self-designed building kit! You can find all the materials you need in our online shop. Take a look and discover our extensive range of creative and craft items. Have fun crafting and designing!